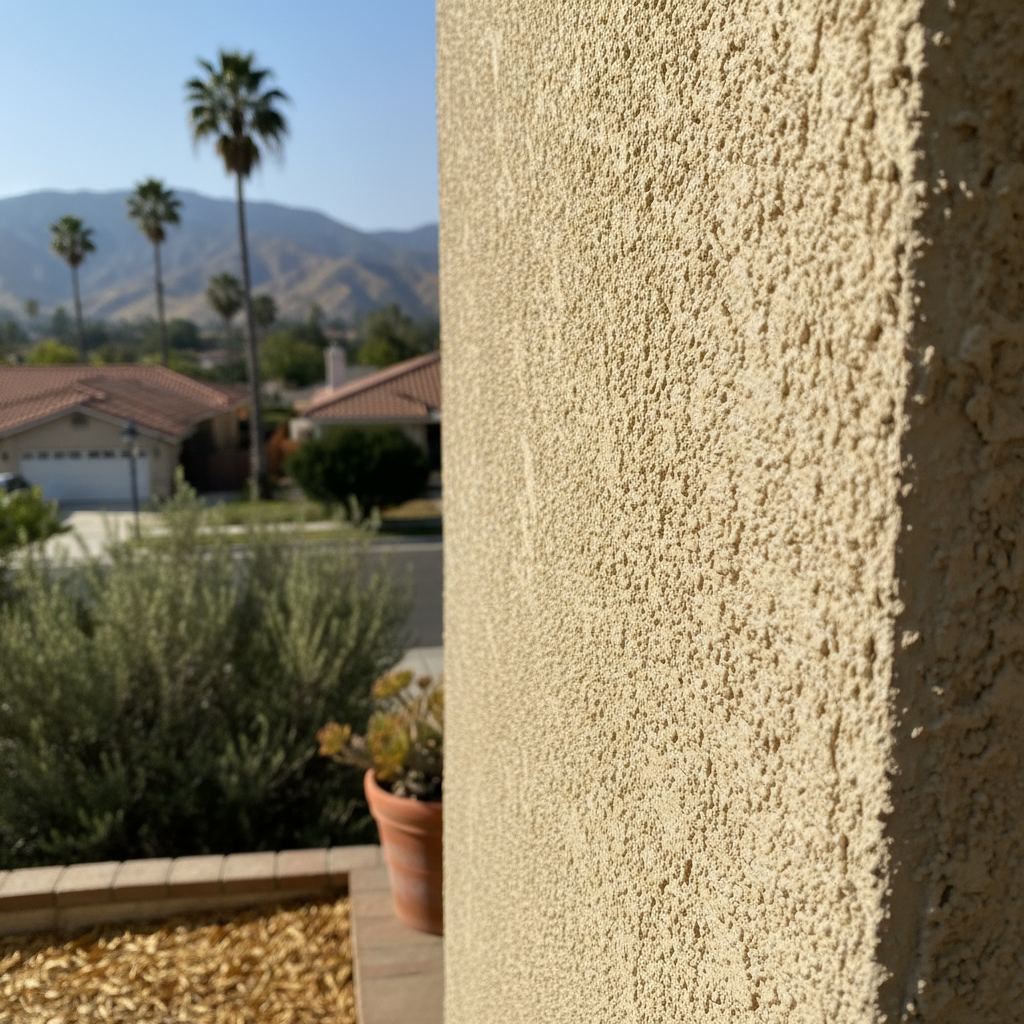
Your stucco's looking rough, huh? Cracks, peeling, maybe even some soft spots? It happens, especially with the kind of weather we get here in Pasadena – those hot, dry summers followed by wet winters can really do a number on exterior finishes. When it gets to a certain point, patching just isn't cutting it anymore, and you start thinking about a full stucco replacement. It's a big job, no doubt, but it's also a chance to really boost your home's curb appeal and protection. Let's talk about what you need to know.
Before You Start: Planning and Assessment
First off, you gotta figure out if you're actually looking at a full replacement or if a really good repair job might still save you some money. Walk around your house. Are the cracks hairline, or are they wide enough to stick a dime in? Is the stucco crumbling in large sections? Is there water intrusion evident inside your home near stuccoed walls? If you're seeing widespread damage, especially around windows, doors, or at the foundation line, then replacement is probably the way to go.
One common issue we see in older Pasadena homes, particularly in areas like the Bungalow Heaven district, is that the original stucco might be an older, less flexible mix, or it might have been applied directly over wood sheathing without a proper moisture barrier. Modern stucco systems are designed to handle movement and moisture much better. Replacing it means you can upgrade to a system that'll last a lot longer and protect your home better.
Before anything else, you'll need to think about permits. For a full stucco replacement, you're almost certainly going to need one from the City of Pasadena. Don't skip this. It's not just a formality; it ensures the work meets code and is done safely. A good contractor will handle this for you, but it's good to know it's coming.
What You Can (and Can't) DIY
Look, I'm all for homeowners tackling projects, but stucco replacement is usually not one of them. This isn't painting a room or fixing a leaky faucet. It involves specialized tools, materials, and a deep understanding of building science. Here's a breakdown:
- Demolition: You could technically demo the old stucco yourself. It's messy, dusty, and hard work, but it's doable. You'll need proper safety gear, a dumpster, and a lot of muscle. Just be careful not to damage the underlying sheathing or framing.
- Inspecting and Repairing Sheathing/Framing: This is where it gets tricky. Once the old stucco is off, you might find water damage, rot, or even termite issues in the wood underneath. Unless you're an experienced carpenter, you're better off letting a pro assess and repair this. It's critical for your home's structural integrity.
- Applying New Stucco: Absolutely, positively, call a professional for this. Stucco application is an art and a science. It involves multiple layers – scratch coat, brown coat, finish coat – each applied at specific thicknesses and cured correctly. Getting the mix right, achieving a consistent texture, and ensuring proper flashing and weep screeds are all things that take years of experience. Mess this up, and you'll have cracks, moisture problems, and an ugly finish in no time.
So, what can you realistically do? Maybe the demo if you're feeling ambitious and have the time. But for everything else, especially the actual application, trust me, you want a skilled stucco contractor like us at Oasis Stucco Co.
During the Project: What to Expect
Once you've hired a reputable contractor, they'll manage most of the heavy lifting. Expect some noise and dust. We'll protect your landscaping as best we can, but it's a construction site, so things will get a bit disrupted. Communication is key here. Your contractor should keep you updated on progress, any unexpected issues, and the timeline.
The process generally involves:
- Demolition: Removing the old stucco.
- Substrate Repair: Fixing any damaged sheathing, framing, or flashing.
- Moisture Barrier Installation: Applying new building paper or a modern weather-resistive barrier. This is crucial for preventing water intrusion.
- Lath Installation: Attaching metal lath (wire mesh) to the walls, which gives the stucco something to grab onto.
- Stucco Application: Applying the scratch coat, then the brown coat, and finally the finish coat, with proper curing time between each.
- Cleanup: Hauling away all the debris and leaving your property tidy.
Don't be afraid to ask questions throughout the process. A good contractor will be happy to explain what they're doing and why.
After the Project: Maintenance and Longevity
Once your beautiful new stucco is in place, it's not entirely maintenance-free, but it's pretty low-maintenance. Here's what you should do:
- Keep it Clean: Wash your stucco periodically with a garden hose and a soft brush, maybe some mild soap if it's really dirty. Avoid high-pressure washers, as they can damage the finish.
- Watch for Cracks: Even the best stucco can develop hairline cracks over time due to building movement or temperature fluctuations. Inspect your walls annually. Small cracks can be sealed with an elastomeric caulk designed for stucco. Address them early before they become bigger problems.
- Maintain Landscaping: Keep plants and shrubs trimmed away from your stucco walls. Foliage holding moisture against the stucco can lead to issues over time.
- Check Gutters and Downspouts: Make sure they're clear and directing water away from your foundation. Overflowing gutters can saturate stucco and cause damage.
A properly installed stucco system, like the ones we put in at Oasis Stucco Co, should last for decades with minimal fuss. It's a solid investment in your home's future, giving you peace of mind and a great-looking exterior.
If you're in Pasadena and thinking about stucco replacement, give us a call. We're happy to come out, take a look, and give you an honest assessment of what your home needs.